
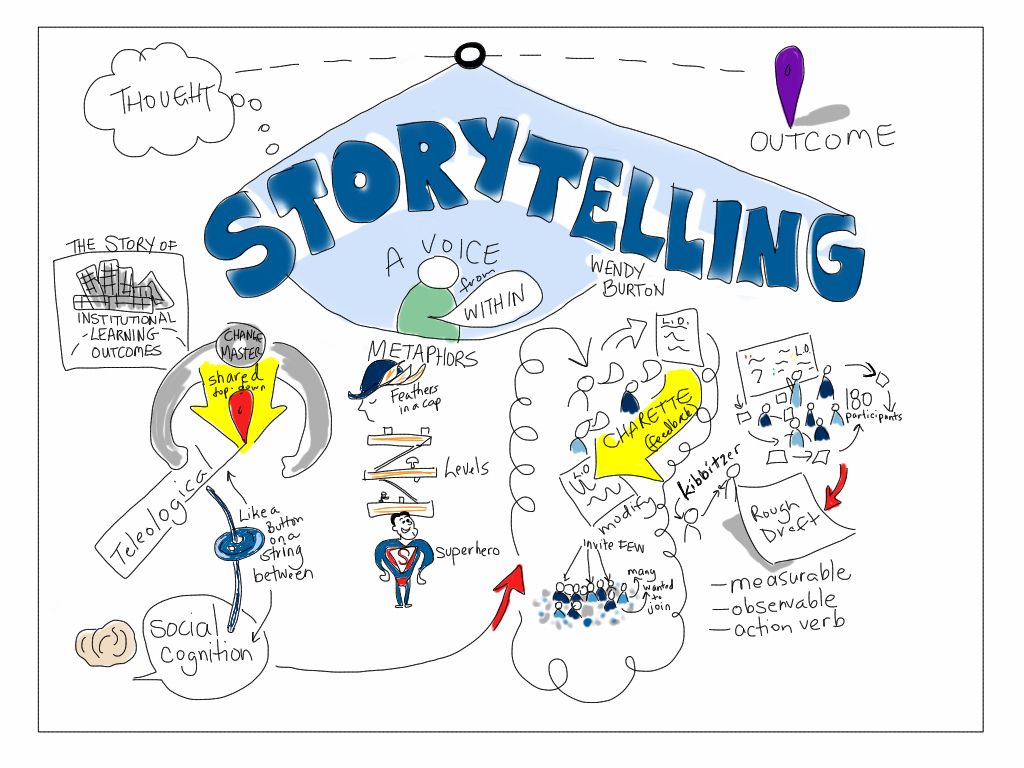
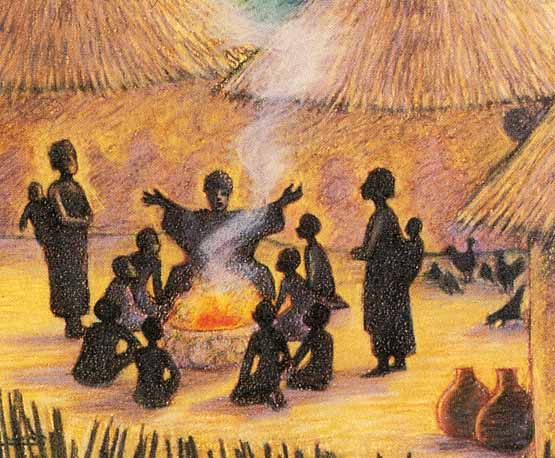
Storytelling is the art of sharing a story with others, whether it’s something that happened to you, something you imagined, or even a story passed down through generations. It’s not just about reading a book or watching a movie—it’s about using your voice, body language, and creativity to bring a story to life.
Storytelling could be in many forms:
- Talking about personal experiences: You might tell a story about something funny that happened at school or an adventure you had with friends.
- Creating fictional stories: If you like to make up stories, it’s about developing characters, settings, and plots in your mind and sharing them with others.
- Sharing stories through social media or videos: Today, storytelling is also done through TikToks, YouTube videos, and Instagram posts, where you tell a story with images, captions, and videos.
- Oral storytelling: This is when you tell a story out loud, often using different voices, expressions, and gestures to make it more engaging.
Storytelling is powerful because it connects people. Whether you’re telling a funny story or sharing an emotional one, it helps others understand your perspective, feel what you’re feeling, or even learn something new. It’s a skill that can be used to entertain, inform, inspire, or even make people laugh. Plus, it’s fun!
Recording oral stories:
It’s like being a time traveler with a cool mission—capturing stories from people who’ve lived through different experiences, so you can share them with others or keep them for future generations. It’s not just about recording facts; it’s about preserving emotions, memories, and real-life experiences. Here’s how you can do it in a fun and easy way:
1. Pick Your Storyteller
First, choose someone with an interesting story! It could be a grandparent, a teacher, a family member, or even a friend. Ask them about their life, favorite memories, or moments they think are worth sharing. Make sure they’re comfortable talking to you about their past—it’s like a mini-interview!
Fun Tip: Pick someone with a unique perspective—maybe they lived through something historical, like a major event or trend, or just have fun, quirky stories to tell!
2. Prepare Your Questions
Think of cool questions that will spark interesting stories. Don’t just ask yes-or-no questions. Instead, ask open-ended questions like:
- “What was your childhood like?”
- “Can you tell me about a funny moment from school?”
- “How did technology change when you were young?”
- “What’s the most surprising thing that’s happened in your life?”
Fun Tip: If you’re not sure what to ask, imagine you’re the listener. What would you want to know about their life?
3. Set the Scene
Create a comfortable, quiet place for your recording. It could be in your living room, in the backyard, or even a cozy corner of a café. Make sure there’s no loud background noise, like music or TV, because you want to capture the voice clearly.
Fun Tip: Set the mood! You can even ask your storyteller to share their favorite music or snack during the recording for added fun.
4. Start the Recording
Use something simple like your phone, a tablet, or a voice recorder. Press “record” when you’re ready, and let your storyteller start. Don’t worry about making everything perfect—focus on the conversation, and let the stories flow!
Fun Tip: If you want to add an extra touch, ask if you can record a short video too. You can capture their facial expressions, gestures, and even the setting, adding richness to the story!
5. Engage with the Story
As the storyteller shares, be an active listener. Nod, ask follow-up questions, and encourage them to elaborate on cool parts of their story. This keeps the conversation lively and ensures you capture details that might be missed.
Fun Tip: If they mention something interesting, like a childhood game or tradition, ask them to explain it more—this can lead to unexpected and fun stories!
6. Wrap Up with Appreciation
After the interview, thank your storyteller for sharing their memories with you. You might even want to share how much their stories mean to you or how you can’t wait to pass them on to others.
Fun Tip: You can show them how the recording turned out, or you could even edit the audio or video to make it into a cool, mini-documentary that tells their story!
7. Preserve and Share the Story
Now that you’ve got your oral story recorded, you can keep it for yourself or share it with others. You could create a special archive, upload it online, or turn it into a podcast. Imagine how awesome it would be to have those stories saved forever!
Fun Tip: Create a playlist of stories from different people. It’s like building your own personal podcast with real-life experiences!
Recording oral stories isn’t just about capturing facts—it’s about telling people’s unique stories in their own words. You get to be the bridge between the past and the present, and who knows? Maybe you’ll uncover some amazing hidden gems along the way!
Learning Activities:
1. Oral History Interview Challenge
Objective: Teach teens how to conduct interviews and record stories from real people.
Materials: Smartphones/tablets, paper, pens, or digital devices for notes.
Activity:
- Step 1: Ask students to choose someone in their life (e.g., a family member, neighbor, or community member) to interview. Encourage them to think of unique or interesting people with cool stories.
- Step 2: Students prepare a list of 5-10 open-ended questions that will prompt storytelling (e.g., “What was the best childhood adventure you had?” or “Tell me about a moment when your life changed forever”).
- Step 3: Students conduct the interview, either recording the conversation on a phone or taking notes.
- Step 4: After the interview, students listen to or read through the story and summarize the key points.
Fun Tip: Have a “Best Story” contest where the most interesting or moving story gets shared with the class (with permission).
2. Storytelling Through Time
Objective: Help teens understand the value of storytelling through different generations.
Materials: Timer, paper, pens, optional props.
Activity:
- Step 1: Divide the class into small groups and assign each group a decade (e.g., the 1950s, 1970s, 1990s, etc.).
- Step 2: Each group interviews someone (a classmate, teacher, or family member) who lived during that time and learns a significant story from that period (e.g., important historical events, trends, or personal experiences).
- Step 3: Groups share their stories with the class, and the class discusses how storytelling changes over time and how the world has changed in each decade.
Fun Tip: Students can use props (such as pictures, music, or objects) that represent that time period to make their storytelling more immersive.