
Research Reporting

SKILLS
EFL 4.4.2. Use a simple print or digital learning resource to compare and contrast information in order to demonstrate understanding of a topic.
EFL 4.4.7. Use the process of prewriting, drafting, revising, peer editing and proofreading to produce well-constructed informational texts.


REAL-LIFE APPLICATION

This topic helps students understand that research is not copying information; it is learning how to choose useful ideas, explain them in their own words, connect them, and present them clearly. Students can use this skill when preparing school projects, explaining information from websites, writing reports, creating presentations, comparing sources, or supporting an opinion with evidence instead of only personal ideas.
LEARNING ACTIVITIES
SESSION 1 (80 min) ANTICIPATION
Part 1: Anticipation: Visual Evidence Freeze (20 min)
The teacher shows a large adventure-style map with four different source zones: a short article, a mini interview, a visual chart, and a short observation note.
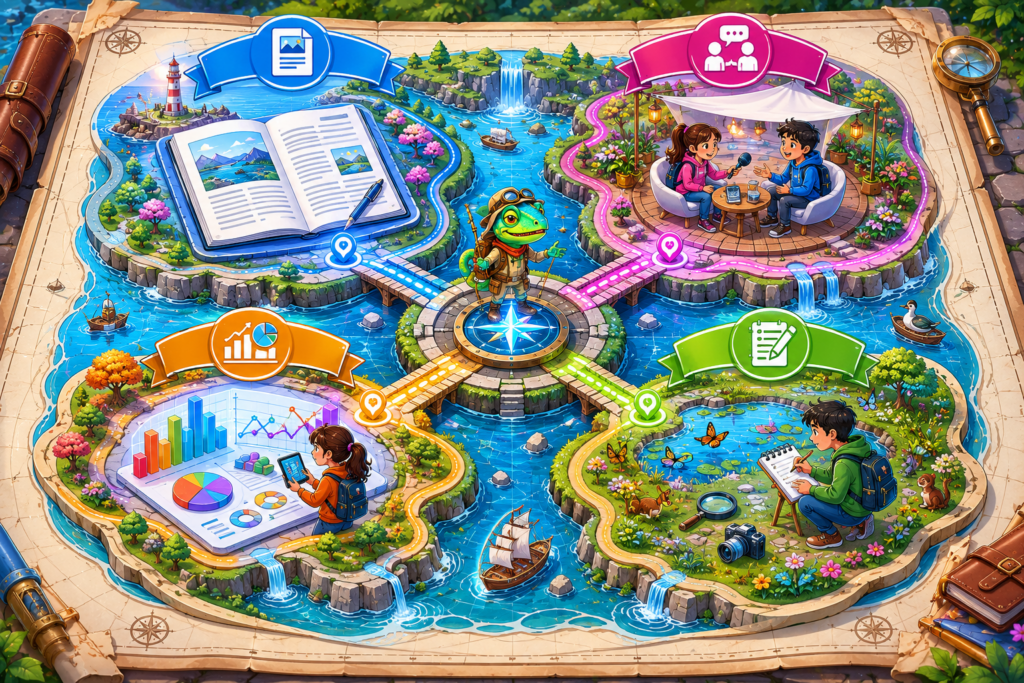
The topic should be fresh and not repeated from previous units.
Suggested topics:
teen sleep routines
school noise and concentration
outdoor learning
healthy snacks
digital reading habits.
Students do not start by reading everything. They first predict what each source might help them discover.
The teacher asks:
“Which source will probably give facts?”
“Which source will probably give opinions?”
“Which source might give numbers?”
“Which source might help us understand students’ experiences?”
This prepares students to see sources as tools with different purposes, not as texts to copy.
The teacher then gives each group one research question, for example: “How can students improve concentration at school?” Students must decide which source zone they would visit first and explain why. This builds the idea that research reporting begins with selection: students must know what they need before they collect information.
Part 2: Vocabulary Activation: Evidence Climbing Wall (15 min)
The teacher places vocabulary words at different levels of a projected climbing wall or printed pathway.
At the bottom, students place simple words: topic, detail, source.
In the middle, they place process words: paraphrase, summarize, compare.
At the top, they place higher-thinking words: synthesize, recommend, conclude.
Students then choose one word and explain what action it requires.
Example:
“Paraphrase means I use my own words but keep the same meaning.”
“Synthesize means I connect ideas from different sources.”
“Recommendation means I suggest an action based on the findings.”
This activity helps vocabulary become procedural. Students understand what they must do with the word, not only what the word means.
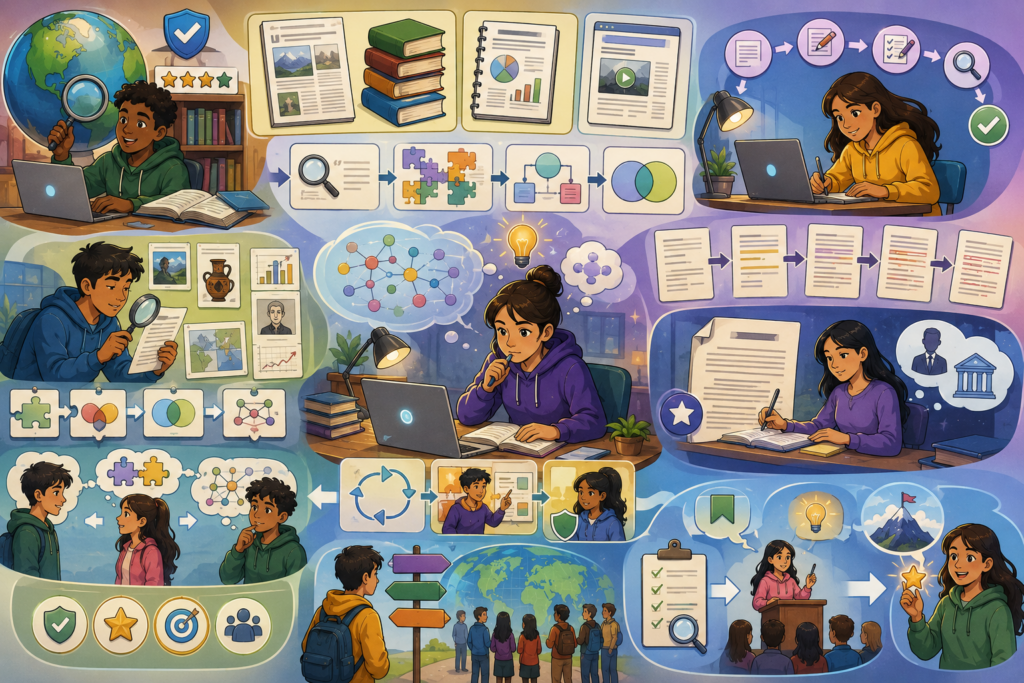
research
source
article
report
essay
evidence
finding
detail
main idea
topic
claim
source idea
paraphrase
summarize
synthesize
compare
contrast
connect
explain
support
recommendation
conclusion
draft
revise
edit
proofread
formal language
academic tone
reliable
useful
relevant
purpose
audience
Part 3: Language Input: From Source to Report (25 min)
The teacher explains that a formal report is different from a personal opinion paragraph.

A report uses information from sources to explain a topic and suggest a conclusion or action. Students must not simply copy from the source, and they should not write only “I think.” They need to show what the sources say, what the sources have in common, and what action makes sense.
The teacher introduces four steps:
Step 1: Identify the useful idea.
Students ask: “What is the source really saying?” They should underline only the key idea, not entire paragraphs.
Step 2: Paraphrase the idea.
Students rewrite the idea in their own words. The teacher should remind them that paraphrasing does not mean changing only one or two words; it means rebuilding the sentence while keeping the same meaning.
Step 3: Connect the source to another source.
Students use phrases such as “Both sources suggest…”, “Source A focuses on…, while Source B explains…”, or “This connects with…” This is the beginning of synthesis.
Step 4: Use the source in a report section.
Students decide whether the idea belongs in the introduction, findings, recommendation, or conclusion.
The teacher models:
Source idea: “Many students reported that noise makes it harder to concentrate.”
Paraphrase: “Several students said that loud spaces affect their focus.”
Connection: “This connects with the article because both sources show that the learning environment matters.”
Report sentence: “The findings suggest that quieter study spaces may help students concentrate.”
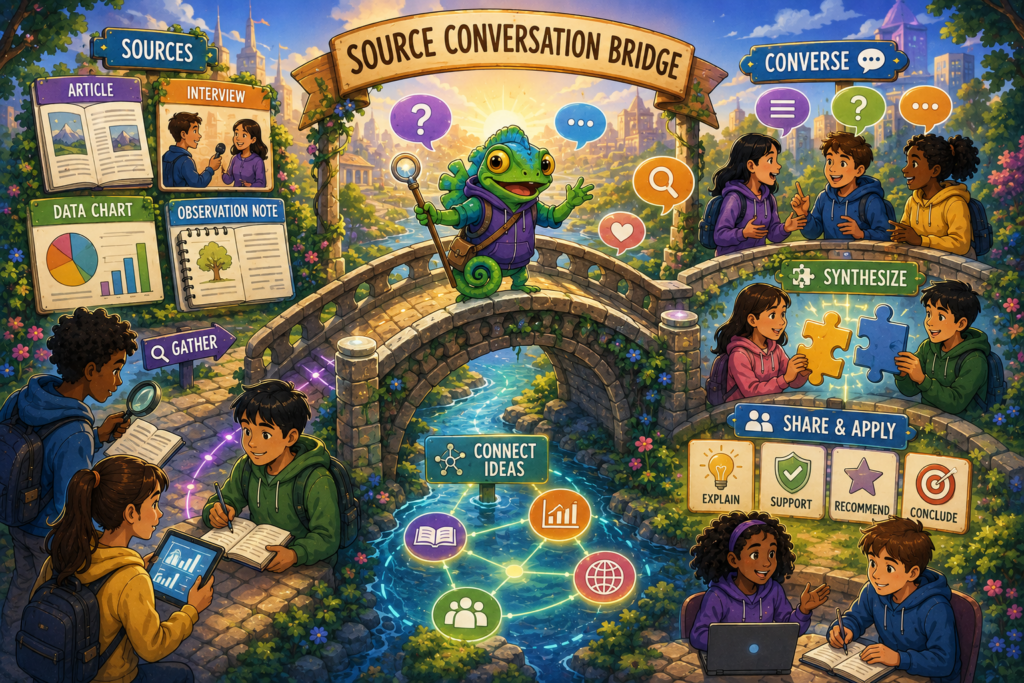
Part 4: Grammar / Language Teaching Idea: Source Conversation Bridge (20 min)
The teacher presents sources as “speakers” in a conversation. Source A says one idea, Source B adds another idea, and Source C gives a different perspective. Students must build a bridge between them.
The teacher writes sentence frames on the board:
“Source A suggests that…”
“Source B adds that…”
“Both sources show that…”
“However, Source C focuses on…”
“Taken together, the sources suggest that…”
Students practice with short source cards. The goal is to teach grammar and structure through relationship language: students learn how connectors, reporting verbs, and synthesis frames help ideas work together.
This method is useful because students often write source-by-source summaries. The bridge method teaches them to write idea-by-idea instead.
SESSION 2: CONSTRUCTION – REINFORCEMENT (40 min)
Part 1 – Source Speed Dating Without Copying (15 min)
Each student receives one short source extract. Students pair up for two minutes and explain their source orally without reading it aloud. They must say:
“This source is about…”
“One useful idea is…”
“This source could help a report because…”
After two minutes, students switch partners and explain again, improving their clarity. This makes research oral and active. It also trains students to process information rather than repeat the exact wording.
Part 2 – Report Bridge Builder (15 min)
Groups receive three short paraphrased source ideas about the same research question. They must arrange them on a visual bridge: first idea, connection, contrast, conclusion.
Example:
Source A: Students need quiet spaces.
Source B: Some students focus better with soft music.
Source C: Flexible study spaces support different learners.
Bridge conclusion:
“The sources suggest that schools should not create only one type of study area. Instead, they should offer flexible spaces for different needs.”
This activity helps students understand that synthesis can include agreement and contrast at the same time.
Part 3 – Research Snapshot Card (10 min)
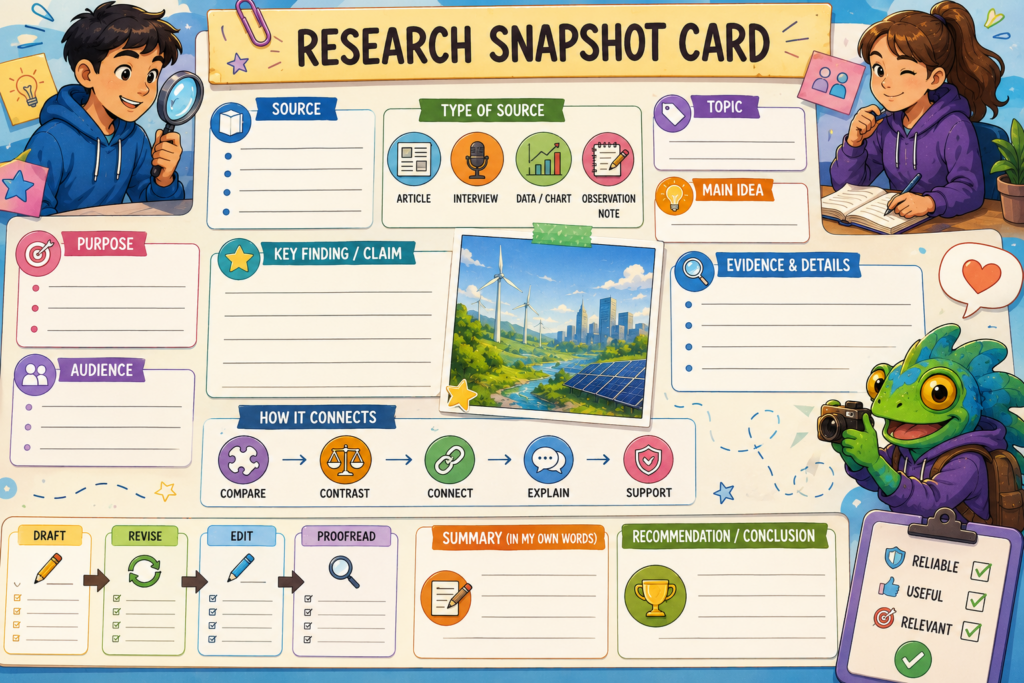
To close the lesson section without repeating the same format, students complete a small “Research Snapshot Card” with four boxes:
- One source I understood
- One idea I paraphrased
- One connection I found
- One question I still have
Students hand the card to a partner, not directly to the teacher. The partner must read one box and say one helpful comment.
SESSION 3: CONSOLIDATION (80 min)
Part 1- Preparation: Mini Research Field Kit (15 min)
Students prepare a field kit for their report. The kit can be a folded paper, small envelope, digital board, or notebook page. It must include:
one research question
two useful sources
two paraphrased ideas
one connection between sources
one recommendation
Students should use keywords, not full paragraphs. This prevents memorization and encourages them to explain their own thinking.
Part 2 – Research Campfire Share (50 min)
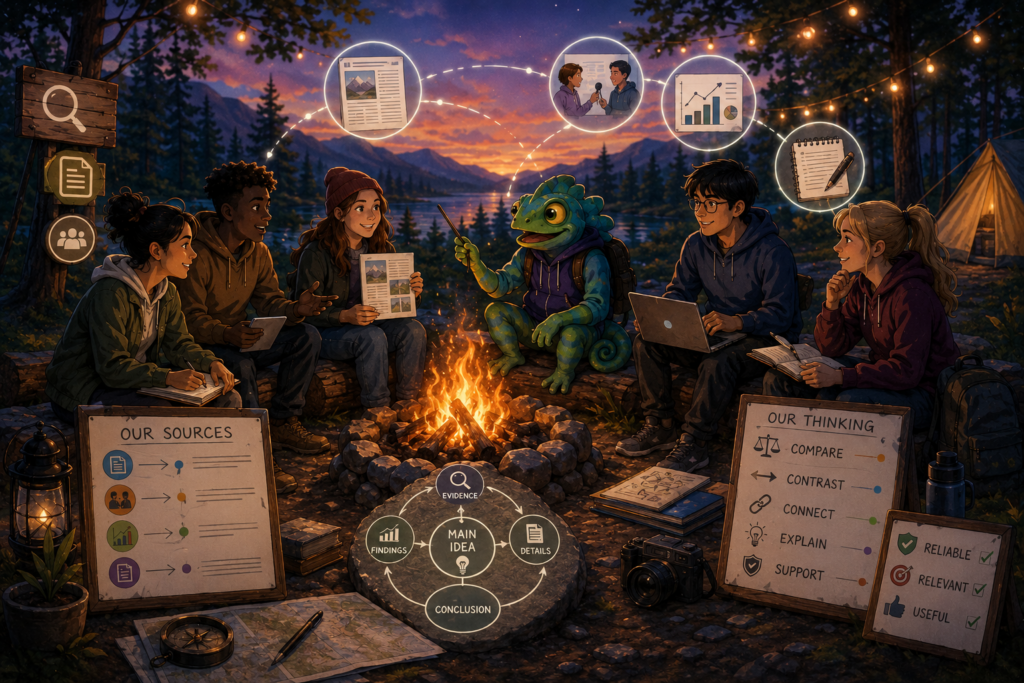
This consolidation is not a normal presentation. The room becomes a “research campfire” where each group reports what they discovered as if returning from an expedition. Students sit or stand in a circle around a symbolic campfire image, lantern, or projected flame.
Each group shares:
what question they investigated
which sources they used
what each source helped them understand
how the sources connected
what recommendation they would make
The teacher should encourage students to speak naturally but formally. They may hold their field kit, but they cannot read full paragraphs. After each group speaks, another group asks one clarification question.
Required language:
“Our research question was…”
“One source suggested that…”
“Another source added that…”
“Both sources show that…”
“Our recommendation is…”
Part 3 – Peer Research Stamp (15 min)
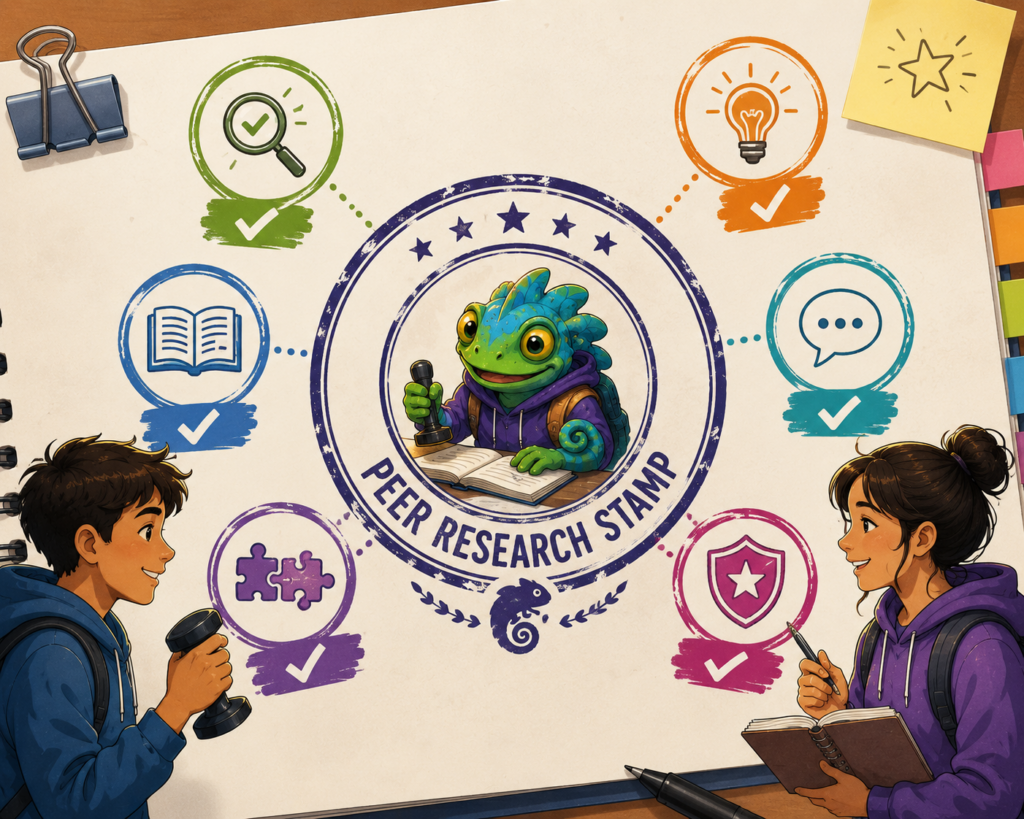
Each group receives three “research stamps” from classmates:
Clear Source Stamp
Good Paraphrase Stamp
Strong Recommendation Stamp
Students must explain why they gave one stamp to another group. This closes the class through peer recognition and evidence-based feedback.

RUBRIC: Research Reporting
NEE – Agregar el tipo de adaptaciones curriculares
Principio II: Pautas 6.1 – 6.3 – 6.4
Principio III: Pautas 7.1 – 8.1 – 9.1
ALUMNO 1: Constante monitoreo. Dar tiempo adicional para el desarrollo de la actividad y se reduce el número de ejercicios o se modifican los ejercicios con un nivel de dificultad reducido, de acuerdo con sus necesidades académicas.
ALUMNO 2: Constante monitoreo, Dar tiempo adicional para el desarrollo de la actividad y se reduce el número de ejercicios o se modifican los ejercicios con un nivel de dificultad reducido, de acuerdo con sus necesidades académicas.
ALUMNO 3: Constante monitoreo. Corroborar que el contenido entregado en clase haya sido comprendido por la estudiante mediante retroalimentación.