
Speaking Fluency

SKILLS
EFL.5.2.7 Present information clearly and effectively in a variety of oral forms for a range of audiences and purposes. (Example: summarizing, paraphrasing, personal narratives, research reports, essays, articles, posters, charts and other graphics, etc.)
EFL.5.2.15 Engage in an extended conversation on most general topics and keep it going by expressing and responding to suggestions, opinions, attitudes, advice, feelings, etc.
REAL-LIFE APPLICATION

This topic helps students describe, compare, interpret, and discuss images with fluency. In real life, people often explain visual information: photos in presentations, campaign images, news pictures, social media posts, advertisements, project evidence, and exam prompts. Students learn to organize a response, support ideas with visual evidence, compare images, speculate carefully, and interact with a partner. This prepares them for academic speaking, interviews, project presentations, and international exam-style tasks.
LEARNING ACTIVITIES
SESSION 1 (80 min) ANTICIPATION
Part 1: Video Strategy Autopsy (20 min)
Describe a photo or picture
VIDEO
The teacher plays a short segment from a YouTube video where a speaker describes or compares photos. Students do not take notes about the content first. Instead, they identify the strategy.
Teacher questions:
- How did the speaker start?
- Did the speaker describe everything or select important details?
- Did the speaker compare directly?
- Did the speaker speculate?
- Did the speaker give an opinion?
- Did the speaker keep talking when unsure?
Students identify what strong speakers do:
- They start with an overview.
- They organize ideas.
- They compare instead of listing.
- They speculate carefully.
- They connect the image to a bigger idea.
- They use phrases to continue speaking.
The teacher then shows a new pair of photos and asks students to try only the first step: one general overview sentence.
Example:
“Both photos show students working together, but in different situations.”
Part 2: Vocabulary Activation: Visual Evidence Lenses (15 min)
Each group receives one lens and must describe a photo only through that lens.
Lenses:
- people
- place
- action
- mood
- visual evidence
- message
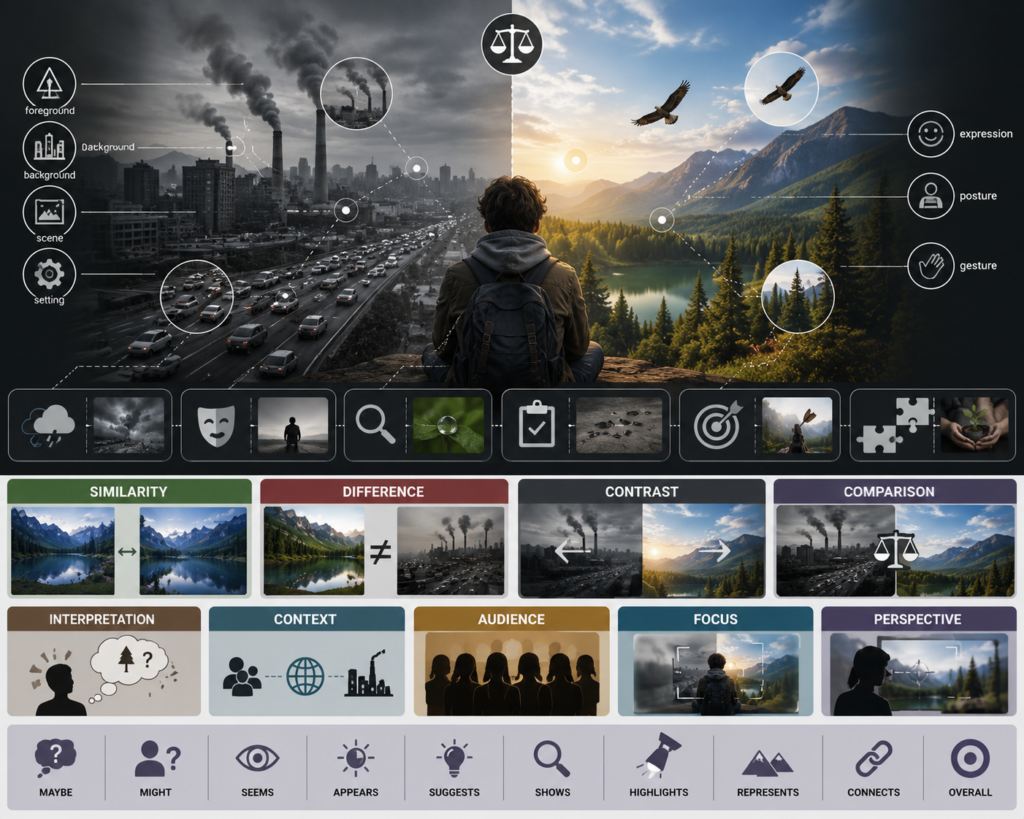
- foreground
- background
- scene
- setting
- expression
- posture
- gesture
- atmosphere
- mood
- detail
- evidence
- purpose
- message
- similarity
- difference
- contrast
- comparison
- interpretation
- context
- audience
- focus
- perspective
- maybe
- might
- seems
- appears
- suggests
- shows
- highlights
- represents
- connects
- overall
Part 3: Speaking Input: From Description to Interpretation (30 min)
The teacher explains that students should not only say what is visible. They should move from description to interpretation.
Level 1: Description
This answers: What can I see?
Example:
“I can see students sitting around a table.”
Level 2: Organization
This answers: Where is everything?
Example:
“In the foreground, there are notebooks and a laptop. In the background, another group is working.”
Level 3: Action
This answers: What is happening?
Example:
“The students are discussing an idea and preparing a presentation.”
Level 4: Speculation
This answers: What might be happening beyond the visible scene?
Example:
“They might be preparing for a school project because they are using notes and a laptop.”
Level 5: Interpretation
This answers: What does the photo communicate?
Example:
“The photo suggests collaboration because everyone seems involved in the task.”
Level 6: Interaction
This answers: How can I keep the conversation going with my partner?
Examples:
“What do you think?”
“Do you agree?”
“Which photo do you think is stronger?”
“I see your point, but I would add that…”
The teacher gives students a fluency framework:
- Overview
“Both photos show…” / “This image seems to show…” - Key details
“In the foreground…” / “In the background…” / “One important detail is…” - Speculation
“They might be…” / “This could be…” / “It seems that…” - Interpretation
“This suggests…” / “The image highlights…” / “The message could be…” - Interaction
“What do you think?” / “Would you agree?” / “Which one would you choose?”
Part 4: Grammar Teaching Idea: Visual Annotation Overlay (15 min)
Instead of teaching grammar from a worksheet, students annotate a photo directly.
The teacher projects a photo and draws transparent labels over it:
Label 1: there is / there are
“There are three students near the table.”
Label 2: Present Continuous
“They are preparing a project.”
Label 3: location phrase
“In the background, there is a screen.”
Label 4: modal of speculation
“They might be planning a presentation.”
Label 5: comparison phrase
“This photo is more collaborative than the second one.”
Students then annotate a new photo in pairs, either digitally or on printed photos. They write only short labels, not full paragraphs. After labeling, they speak using the labels.
SESSION 2: CONSTRUCTION – REINFORCEMENT (40 min)
Part 1 – Compare Without Listing Drill (15 min)
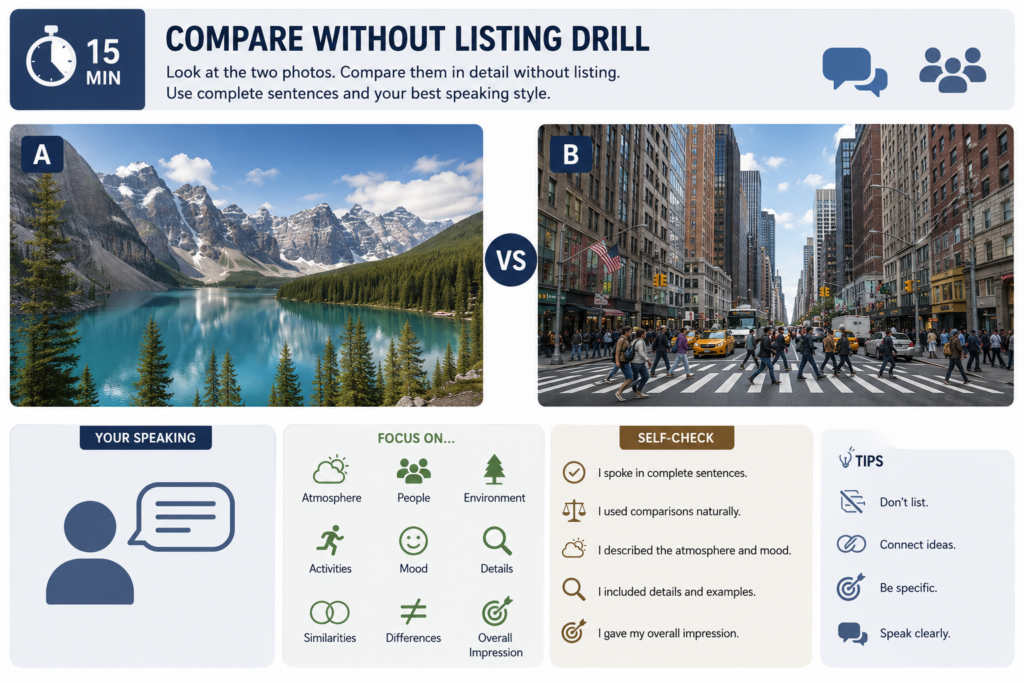
Students receive two photos. They cannot describe photo A completely and then photo B completely. They must compare from the first sentence.
Weak response:
“In photo A, I can see students. In photo B, I can see students.”
Improved response:
“Both photos show students, but the first one shows academic teamwork while the second one shows a more informal activity.”
Students practice with prompts:
Both photos show…, but…
The first photo focuses on…, while the second…
One similarity is…
One difference is…
The mood in the first photo is…, whereas…
The first photo seems more…, because…
Part 2 – Partner Expansion Loop (15 min)
Student A gives a short description. Student B must expand it by adding one of these:
- detail
- location
- speculation
- comparison
- opinion
- follow-up question
Example:
A: “The students are working.”
B: “Yes, and they might be preparing a project because they are using a laptop.”
A: “The photo shows a sports event.”
B: “I agree, and in the background there are people watching, so it might be a competition.”
This builds collaborative fluency instead of isolated answers.
Part 3 – Exit Visual Evidence Sentence (10 min)
Each student gives one sentence that includes:
- one observation
- one speculation
- one reason
Example:
“The students might be preparing a presentation because they are looking at notes and using a laptop.”
SESSION 3: CONSOLIDATION (80 min)
Part 1 – Preparation: Photo Briefing Keywords (15 min)
Students prepare for the speaking test. They may write only five keywords:
- overview
- detail
- action
- speculation
- opinion
Example:
teamwork / laptop / discussing / project / useful
Students cannot write full sentences.
Part 2 – Speaking Fluency Test: Photo Briefing + Collaborative Task (50 min)
Part A: Individual photo briefing
Each student receives one photo and speaks for 60 seconds.
Required:
- general overview
- people and place
- actions
- foreground/background detail
- speculation with evidence
- interpretation or opinion
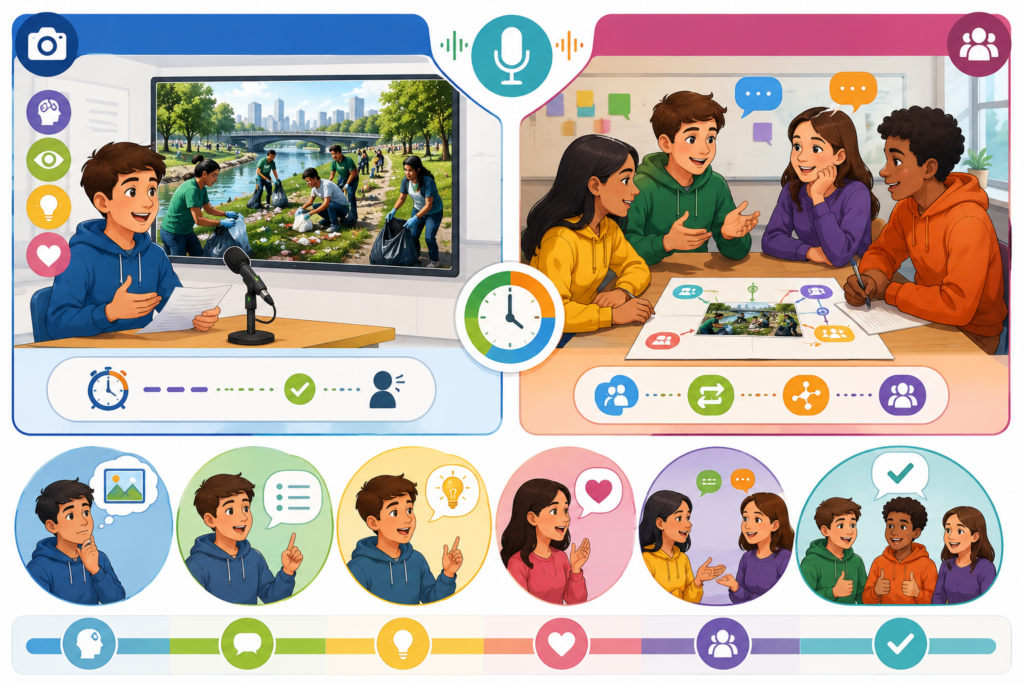
Part B: Compare and connect
The student receives a second photo and compares both photos for 45 seconds.
Required:
- one similarity
- one difference
- one phrase of contrast
- one final opinion
Part C: Collaborative decision
Pairs receive three photos for a school campaign. They discuss for two minutes and choose the most effective photo.
Possible campaign themes:
- sustainability
- school wellbeing
- reading habits
- sports participation
- responsible technology use
- anti-bullying
- teamwork
- healthy habits
- volunteering
- student leadership
Required interaction:
- make a suggestion
- ask one question
- respond to partner’s idea
- disagree politely if needed
- reach a decision
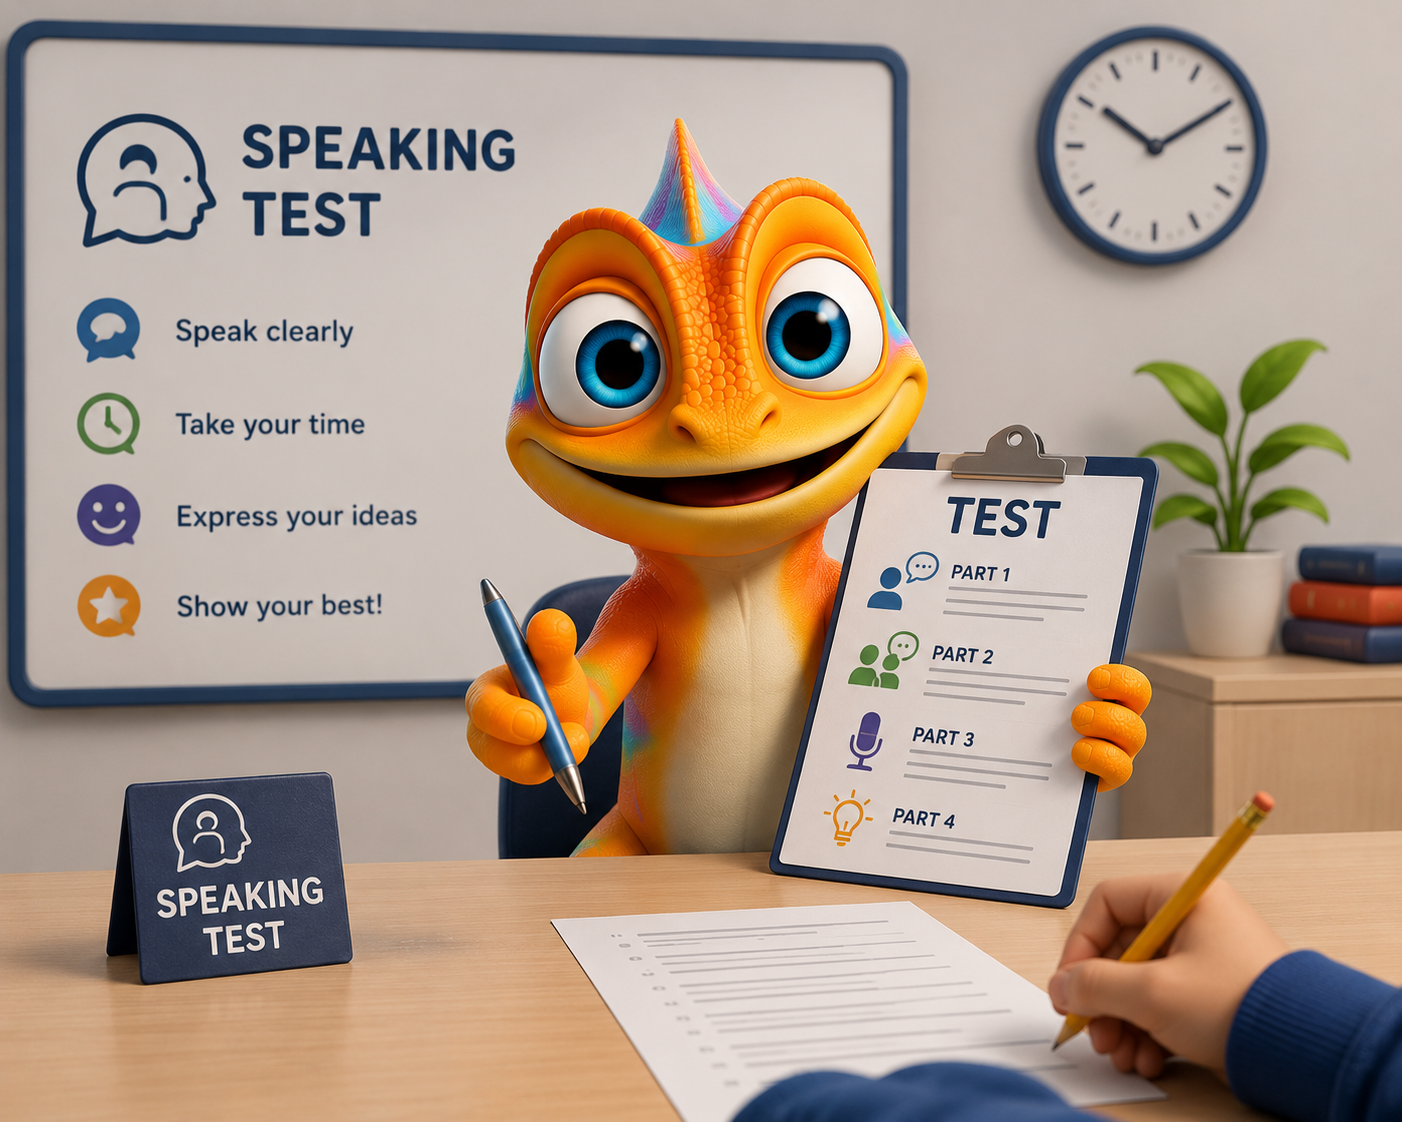
TEST:
Speaking Test
Part 3 – Peer Feedback Briefing (15 min)
Students give feedback using academic but simple frames:
“One strong point was…”
“One detail that helped me understand was…”
“Your speculation was clear because…”
“You could improve by…”
“Your interaction was effective because…”

RUBRIC: Speaking Fluency
NEE – Agregar el tipo de adaptaciones curriculares
Principio II: Pautas 6.1 – 6.3 – 6.4
Principio III: Pautas 7.1 – 8.1 – 9.1
ALUMNO 1: Constante monitoreo. Dar tiempo adicional para el desarrollo de la actividad y se reduce el número de ejercicios o se modifican los ejercicios con un nivel de dificultad reducido, de acuerdo con sus necesidades académicas.
ALUMNO 2: Constante monitoreo, Dar tiempo adicional para el desarrollo de la actividad y se reduce el número de ejercicios o se modifican los ejercicios con un nivel de dificultad reducido, de acuerdo con sus necesidades académicas.
ALUMNO 3: Constante monitoreo. Corroborar que el contenido entregado en clase haya sido comprendido por la estudiante mediante retroalimentación.