
K-Learning Project
SKILLS
EFL.5.2.7 Present information clearly and effectively in a variety of oral forms for a range of audiences and purposes. (Example: summarizing, paraphrasing, personal narratives, research reports, essays, articles, posters, charts and other graphics, etc.)
EFL.5.2.15 Engage in an extended conversation on most general topics and keep it going by expressing and responding to suggestions, opinions, attitudes, advice, feelings, etc.

REAL-LIFE APPLICATION

This topic helps students speak clearly and with control when presenting a past experience or a historical biography. They learn to select relevant information, organize it chronologically, and speak with enough detail for 45–60 seconds. This is useful for oral presentations, interviews, academic projects, storytelling, leadership activities, and situations where they need to explain a person’s life, an event, or a meaningful experience in a concise way.
LEARNING ACTIVITIES
SESSION 1 (80 min) ANTICIPATION
Part 1: Anticipation: Archive Box Challenge (20 min)
The teacher presents an “archive box” using images, objects, or projected visuals: an old photo, a map, a microphone, a medal, a handwritten-style note with no readable text, a newspaper silhouette, a suitcase, a protest sign with no text, a book, and a timeline.
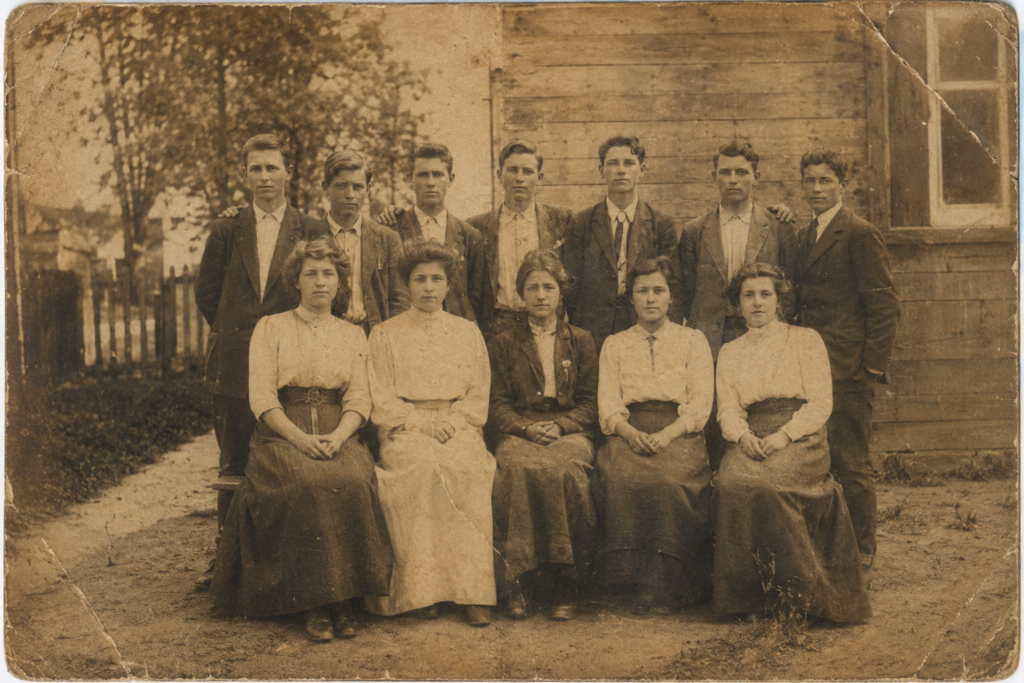


Students infer:
Who could this person have been?
What might have happened in their life?
Why might this story matter?
What information would we need to verify?
The teacher explains that biographies are not random lists of facts. A strong short biography tells a life story with selection, order, and meaning.
Students may work with a real historical figure only if the teacher provides verified information or students use teacher-approved sources.
CONSTRUCTION
Part 2: Vocabulary for Biographical Narratives (15 min)
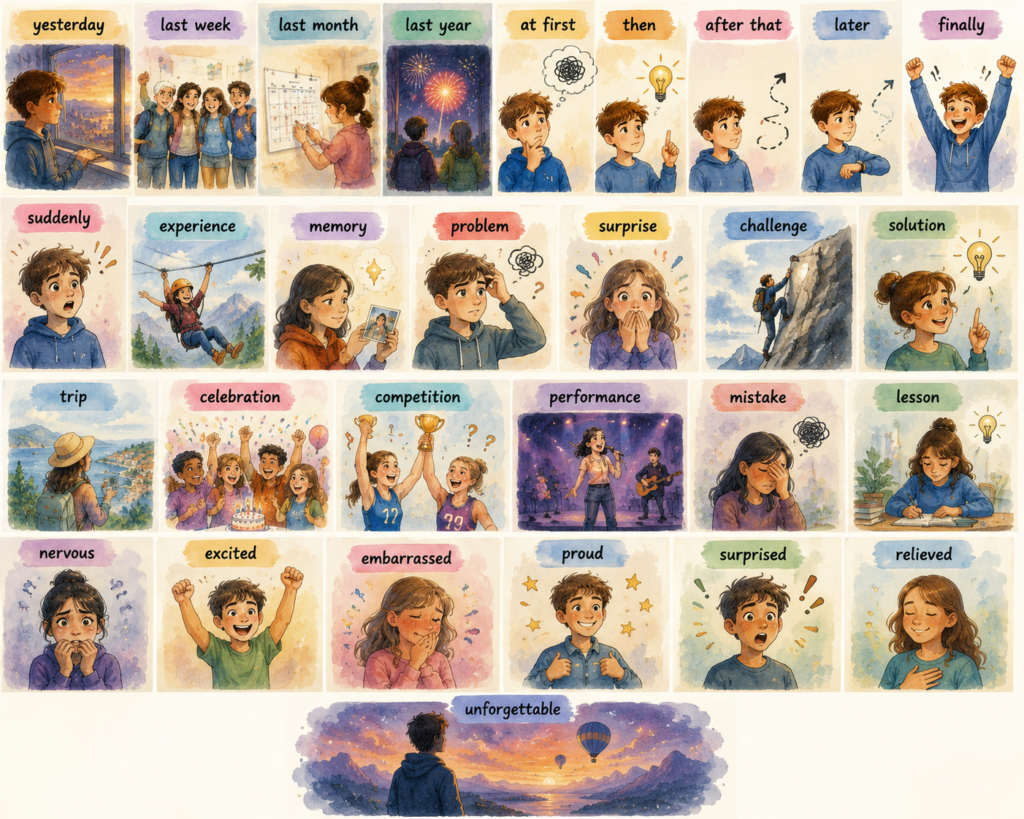
The teacher introduces vocabulary for telling a biography or meaningful past experience.
- biography
- historical figure
- childhood
- early life
- education
- challenge
- achievement
- turning point
- contribution
- impact
- legacy
- obstacle
- decision
- success
- failure
- discovery
- invention
- movement
- leadership
- influence
- timeline
- source
- evidence
- reliable
- relevant
- meaningful
- remembered
- inspired
- changed
- became
Model sentences:
“She became known for her contribution to science.”
“He faced many challenges during his early life.”
“One turning point changed his future.”
“Her legacy is remembered because she helped her community.”
Part 3: Explanation: Narrative Stamina for a 45–60 Second Biography (25 min)
The teacher explains that narrative stamina means speaking with control, not memorizing a long paragraph. Students must select important information and connect it smoothly.
Narrative Stamina
A strong 45–60 second biography has five parts:
- Hook: Why is this person worth remembering?
- Early context: Where or how did the story begin?
- Challenge or turning point: What changed?
- Achievement or impact: What did the person do?
- Final reflection: Why does this story matter?
Suggested timing:
0–10 seconds: hook
10–20 seconds: early life or context
20–40 seconds: key event or challenge
40–50 seconds: achievement or impact
50–60 seconds: final reflection
Useful language:
“This person is remembered because…”
“At the beginning of his/her life…”
“One important challenge was…”
“A turning point happened when…”
“Later, he/she became…”
“His/Her work influenced…”
“This story matters because…”
The teacher reviews useful past forms.
Past Simple for completed life events:
“She studied…”
“He moved…”
“They created…”
“She became…”
Past Continuous for background:
“He was working as…”
“She was studying when…”
“They were living in…”
Passive voice for recognition or historical impact:
“He was remembered for…”
“She was recognized because…”
“The project was created to…”
“The community was influenced by…”
Exercise: Complete the biography-style sentences.
- This person is remembered because he/she ______ an important contribution.
- At the beginning of his/her life, he/she ______ in a difficult context.
- One major challenge ______ when his/her plans changed.
- He/She was ______ when the opportunity appeared.
- Later, he/she ______ known for his/her work.
- His/Her ideas ______ many people.
- A turning point happened when he/she ______ a key decision.
- The project was ______ to solve a problem.
- His/Her legacy is important because it ______ others.
- This biography matters because it ______ courage, discipline, or creativity.
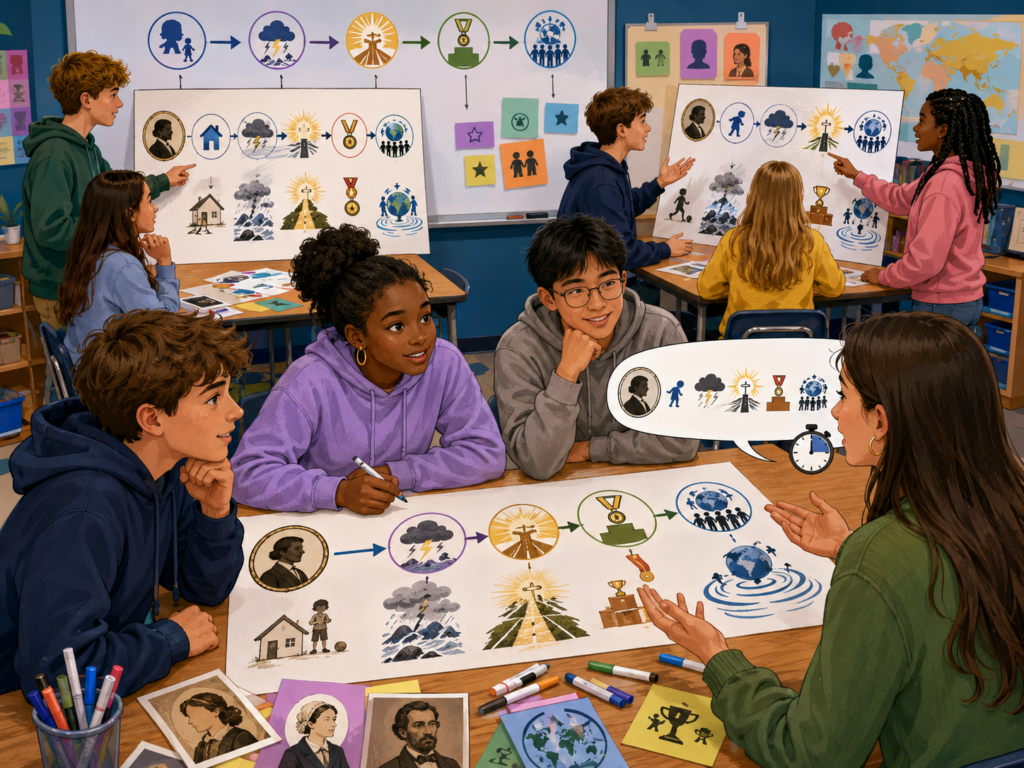
Part 4: Timeline Without Text Challenge (20 min)
Students work in groups. Each group receives or chooses a historical biography topic. They create a visual timeline using only icons, drawings, symbols, colors, arrows, or images. No full written sentences are allowed on the timeline.
The timeline must show:
- early life
- challenge
- turning point
- achievement
- impact
Each student practices explaining the timeline orally in 45–60 seconds.
SESSION 2: CONSTRUCTION – REINFORCEMENT (40 min)
Part 1 – Hot Mic Biography Relay (15 min)
Groups create one short biography together. Each student speaks for 10–15 seconds and passes the “hot mic” to the next student. The group must keep the biography coherent.
Student 1: hook and early life
Student 2: challenge
Student 3: turning point
Student 4: achievement
Student 5: impact or reflection
The goal is not speed. The goal is continuity and clear sequence.
Part 2 – Credibility Filter Board (15 min)
Students receive ten biography details. Some are relevant, some are too random, and some need verification. Students classify them into three columns:
- useful for a 60-second biography
- not necessary
- must be verified
Example details:
- where the person was born
- favorite food
- main achievement
- childhood challenge
- exact number of shoes owned
- major turning point
- impact on society
- unsupported rumor
- important decision
- final legacy
Students explain orally:
“This detail is useful because…”
“This detail is not necessary because…”
“This detail must be verified because…”
Part 3 – Exit Biography Hook (10 min)
Each student creates and says one strong opening sentence for a biography.
Examples:
“This person is remembered because his work changed many lives.”
“Her story matters because she turned a difficult situation into an achievement.”
“This biography is important because it shows discipline and courage.”
SESSION 3: CONSOLIDATION (80 min)
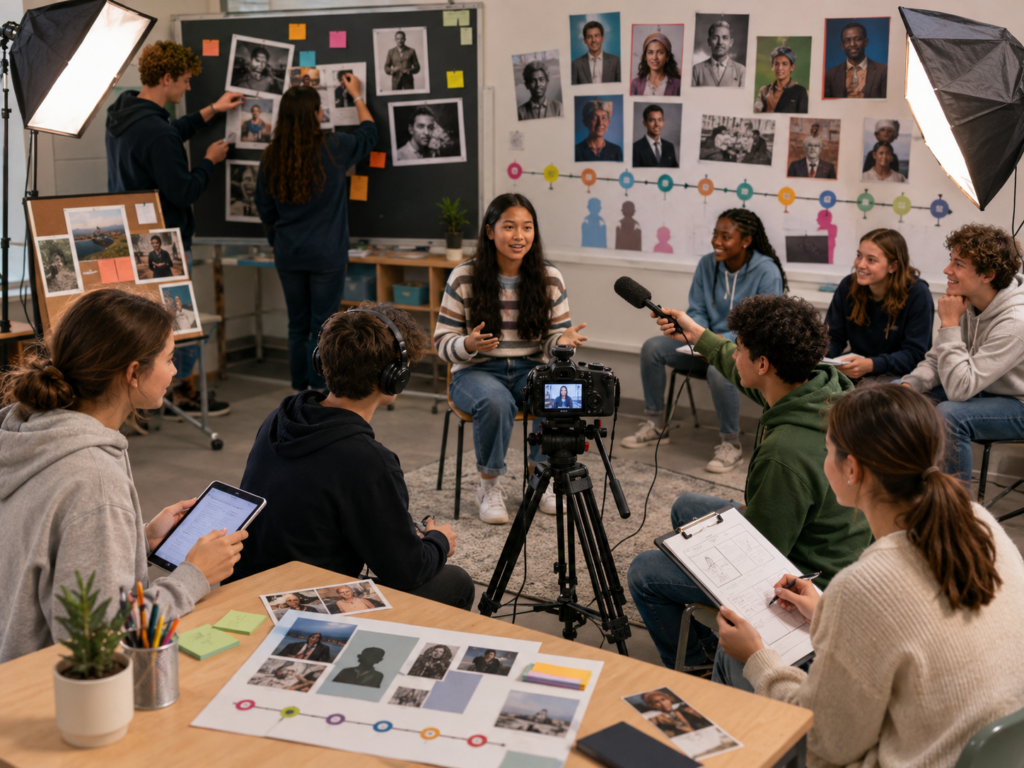
Part 1 – Preparation: Human Documentary Studio (15 min)
Students prepare their final 45–60 second oral biography or past experience. For BGU, the recommended focus is a historical biography, but students may also choose a meaningful past experience if the teacher wants a personal option.
They prepare a cue board with six visual elements:
- person or narrator
- time period
- place
- challenge
- achievement
- impact or lesson
They cannot read a full script. They may use short keywords only.
Part 2 – 60-Second Human Documentary (50 min)
Students present a 45–60 second biography as if they were narrating a micro-documentary. They use one projected image, symbolic object, visual timeline, or AI-generated scene with no readable text.
Presentation requirements:
- one strong hook
- clear chronological order
- at least four past tense verbs
- at least two sequence expressions
- one sentence about challenge or turning point
- one sentence about impact or legacy
- controlled voice and pace
- 45–60 seconds
Audience roles:
timekeeper
clarity judge
language listener
impact listener
question maker
After each presentation, one audience member asks a short question.
Possible questions:
“What was the most important challenge?”
“Why is this person remembered?”
“What decision changed the story?”
“What was the impact?”
“What can students learn from this biography?”
Gamification:
Students can earn Krugs:
- Strong Hook Badge
- Chronology Badge
- Verified Detail Badge
- Voice Control Badge
- Impact Badge
- 60-Second Stamina Badge
Part 3 – Documentary Reflection Circle (15 min)
Students vote for:
- strongest hook
- clearest timeline
- best voice control
- most meaningful impact
- best use of visual support
They explain their vote orally.
Examples:
“I voted for this presentation because the timeline was clear.”
“The speaker explained the challenge very well.”
“The biography was meaningful because the impact was clear.”
“The visual support helped me understand the story.”
 RUBRIC: Narrative Stamina
Exercise Bank – Extra Practice
The Exercise Bank can be used as an additional practice section after the main lesson activities. These exercises are useful for students who finish early, need extra reinforcement, or want more practice before the final task. The teacher may select specific exercises depending on the students’ needs, class time, or level of difficulty.
NEE – Agregar el tipo de adaptaciones curriculares
Principio II: Pautas 6.1 – 6.3 – 6.4
Principio III: Pautas 7.1 – 8.1 – 9.1
ALUMNO 1: Constante monitoreo. Dar tiempo adicional para el desarrollo de la actividad y se reduce el número de ejercicios o se modifican los ejercicios con un nivel de dificultad reducido, de acuerdo con sus necesidades académicas.
ALUMNO 2: Constante monitoreo, Dar tiempo adicional para el desarrollo de la actividad y se reduce el número de ejercicios o se modifican los ejercicios con un nivel de dificultad reducido, de acuerdo con sus necesidades académicas.
ALUMNO 3: Constante monitoreo. Corroborar que el contenido entregado en clase haya sido comprendido por la estudiante mediante retroalimentación.